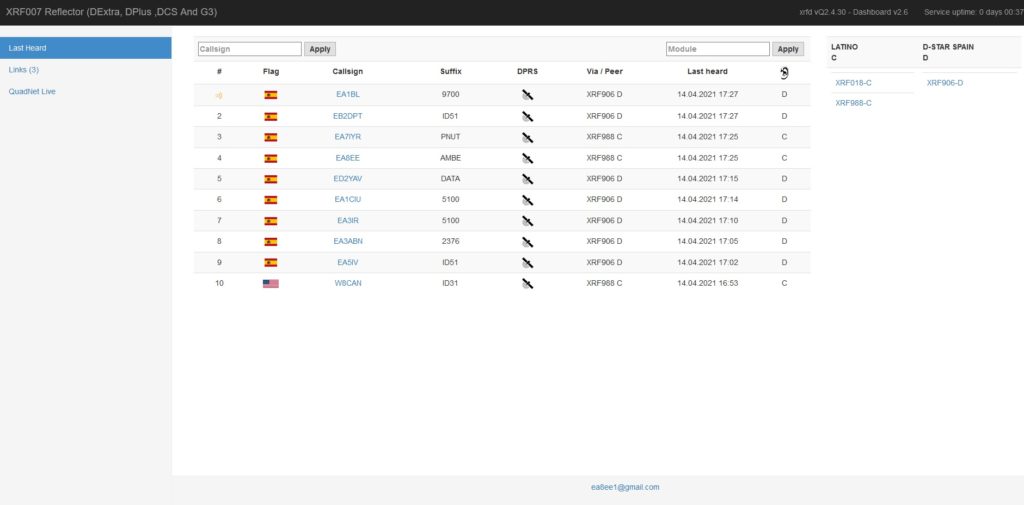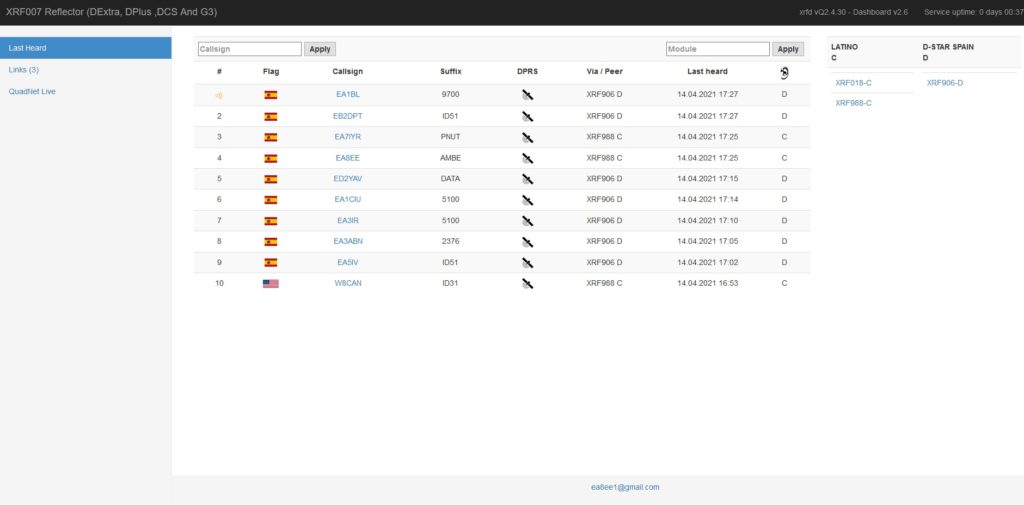
http://xrf007.xreflector.es/ref/
- Mode XLXD (or XRFD)
- Protocolos:
- PROTOCOL_DEXTRA
- PROTOCOL_DPLUS
- PROTOCOL_DCS
- PROTOCOL_XLX
- PROTOCOL_DMRPLUS
- PROTOCOL_DMRMMDVM
- PROTOCOL_YSF & WIRES X
- PROTOCOL_G3 (Terminal Mode)
***Reflector that support IPv4, IPv6 or both (dual stack).**
Installation
Below are instructions for building either an XLX or XRF reflector. If you are planning on an XLX reflector without a transcoder, you can help your users by naming modules with names that attract D-Star or non-D-Star client. You name modules in the config.inc.php file mentioned below.
After a clean installation of Debian make sure to run update and upgrade
sudo apt update
sudo apt upgrade
Required packages (some of these will probably already be installed)
sudo apt install git
sudo apt install apache2 php5
sudo apt install build-essential
sudo apt install g++
# the following is only needed for XLX, not for XRF
sudo apt install libmariadb-dev-compat
# the following is needed if you plan on supporting local YSF frequency registration database
sudo apt install php-mysql mariadb-server mariadb-client
Download the repository and enter the directory
git clone https://github.com/n7tae/new-xlxd.git
cd new-xlxd
Create and edit your blacklist, whitelist and linking files
If you are building an XLX reflector:
cp ../config/xlxd.blacklist .
cp ../config/xlxd.whitelist .
cp ../config/xlxd.interlink .
cp ../config/xlxd.terminal .
If you are building an XRF reflector (please note the name changes, especially for the interlink file):
cp ../config/xlxd.blacklist xrfd.blacklist
cp ../config/xlxd.whitelist xrfd.whitelist
cp ../config/xlxd.interlink xrfd.interlink
cp ../config/xlxd.terminal xrfd.terminal
If you are not going to support G3 linking, you don’t need to copy the .terminal file. Use your favorite editor to modify each of these files. If you want a totally open network, the blacklist and whitelist files are ready to go. The blacklist determine which callsigns can’t use the reflector. The whitelist determines which callsigns can use the reflector. The interlink file sets up the XLX<—>XLX inter-linking and/or out-going XRF peer linking.
Configuring your reflector
Configuring, compiling and maintaining your reflector build is easy! Start the configuration script in the base directory of you cloned repo:
./rconfig
There are only a few things that need to be specified. Most important are, the reflector callsign and the IP addresses for the IPv4 and IPv6 listen ports and a transcoder port, if there is a transcoder. Dual-stack operation is enabled by specifying both an IPv4 and IPv6 address. IPv4-only single stack can be specified by leaving the IPv6 address set to none. It’s even possible to operate in an IPv6-only configuration by leaving the IPv4 address to the default none. You can override the ip addresses for any of the supported protocol and this is done in a sub-menu. This would allow you to install other Ham-related services that might use the same ports, like a Smart Group Server.
Obviously the transcoder is only specified for an XLX reflector. If your reflector is configured with a transcoder, you can specify which configured modules will be transcoded. If you are building an XLX system with a transcoder, you can also specify which channels get transcoder support. There are also true/false flags to prevent G3 support and so that you can build executables that will support gdb debugging.
You can support your own YSF frequency database. This is very useful for hot-spots that use YSF linking. These linked hot-spots can then use the WiresX command on their radios to be able to connect to any configured XLX module. Users can register their TX and RX frequency (typically the same for most hot-spot configurations) on http:<xlx url>/wiresx/login.php. Once their hot-spot is registered, XLX will return the correct frequency for their hot-spot when a WiresX command is sent to the reflector. You’ll need to enable YSF auto-linking, specify a default module and define a database name, user and user password. When you write you XLX configuration, a database configure.sql script will be built to not only create the database and database user, but also the table for the hot-spot frequency data.
Be sure to write out the configuration files and look over the up to seven different configration files that are created. The first file, reflector.cfg is the memory file for rconfig so that if you start that script again, it will remember how you left things. There are one or two .h files for the reflector and ambed and there are one or two .mk files for the reflector and ambed makefiles. You should not modify these files by hand unless you really know exactly how they work. The rconfig script will not start if it detects that an XLX or XRF server is already running. You can override this behavior in expert mode: ./rconfig expert. If you do change the configuration after you have already compiled the code, it is safest if you clean the repo and then recompile.
Compling and installing your system
After you have written your configutation files, you can build and install your system:
./radmin
Use this command to compile and install your system. It can also be used to uninstall your system. It will use the information in reflector.cfg to perform each task. This radmin menu can also perform other tasks like restarting the reflector or transcoder process. It can also be used to update the software, if the system is uninstalled.
Stoping and starting the services manually
sudo systemctl stop xlxd # (or xrfd)
sudo systemctl stop ambed
You can start each component by replacing stop with start, or you can restart each by using restart.
Copy dashboard to /var/www
There are two supplied, one for XRF systems and one for XLX systems.
sudo cp -r ~/xlxd/dashboard.xlx /var/www/db # or dashboard.xrf
Please note that your www root directory might be some place else. There is one file that needs configuration. Edit the copied files, not the ones from the repository:
- pgs/config.inc.php – At a minimum set your email address, country and comment. Do not enable the calling home feature if you built an XRF reflector. This feature is for XLX systems only.
If you have configured support of hot-spot frequency registation, recursively copy the wiresx directory where the index.php file is for your dashboard. Also from the build directory, create the database and database user and hot-spot frequency table:
sudo mysql < configure.sql
Updating xlxd and ambed
Updating can be performed entirely in the radmin script, but just in case there is a new version of the radmin script, you can start first with a simple git pull. If any .h or .cpp fiiles have updates, you can then start radmin and do a clean and compile and then uninstall and install: cl, co, us, is. Follow that with a rl to watch the reflector log, or an rt to watch the transcoder while it comes up.
If rconfig was updated with the git pull, it might be wise to run it first to see if there have been any new options added to the code base. If so, be sure to write out the new configuration files before exiting rconfig. THen you can rebuild and reinstall your reflector.
If you are change any configuration after your reflector has been compiled, be sure to do a clean/compile/uninstall/reinstall to sync your system to the new configuration.
Firewall settings
XLX Server requires the following ports to be open and forwarded properly for in- and outgoing network traffic:
- TCP port 80 (http) optional TCP port 443 (https)
- UDP port 10002 (XLX interlink)
- UDP port 42000 (YSF protocol)
- UDP port 30001 (DExtra protocol)
- UPD port 20001 (DPlus protocol)
- UDP port 30051 (DCS protocol)
- UDP port 8880 (DMR+ DMO mode)
- UDP port 62030 (MMDVM protocol)
- UDP port 10100 (AMBE controller port)
- UDP port 10101 – 10199 (AMBE transcoding port) # only needed if your transcoder and reflector aren’t running on the same domain.
- UDP port 12345 – 12346 (Icom Terminal presence and request port)
- UDP port 40000 (Icom Terminal dv port)
YSF Master Server
Pay attention, the XLX Server acts as an YSF Master, which provides 26 wires-x rooms. It has nothing to do with the regular YSFReflector network, hence you don’t need to register your XLX at ysfreflector.de !
Copyright
- Copyright © 2016 Jean-Luc Deltombe LX3JL and Luc Engelmann LX1IQ
- Copyright © 2021 Thomas A. Early N7TAE
Visitas: 322

